A good percentage of FactoryPMI projects contain duplication, whether it is with tanks, valves, motors or any other piece of equipment. This means that you have two or more components on the screen that are identical except for their tag paths or database column names. For example, let's say you have eight motors and each of these motors have the same two pieces of information that you want to display: status and amps. You don't want to create the same component ten times, but rather create a generic component that you can copy, paste and change a couple of variables to point to the right motor. This article demonstrates how to make generic components out of existing FactoryPMI components. This is a very common pattern in FactoryPMI and mastering this will save you hours of time.
Step 1:
Let's continue with our example of motors. First, open up a project in the FactoryPMI Designer. Next, open an existing window or create a new window that we can put the generic component in.
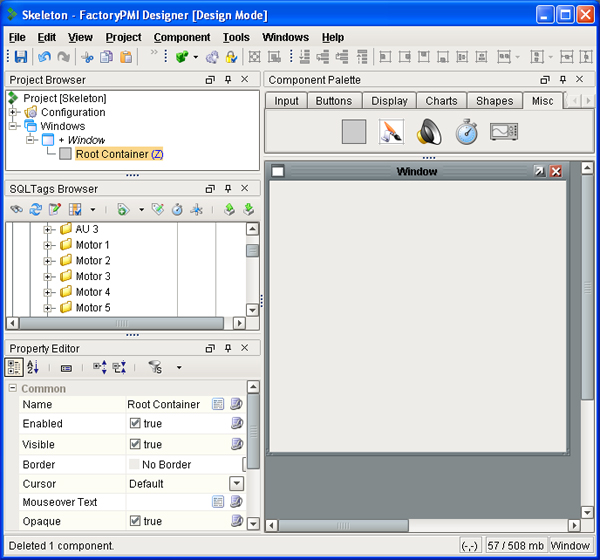
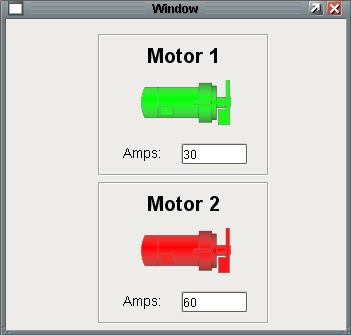
Containers are really useful for creating groups of components that act as one component. In our example, we have a motor that has two pieces of information to display: status and amps. We can create a Container that has an image of a motor, and two labels: one for the amps and one for the motor number.
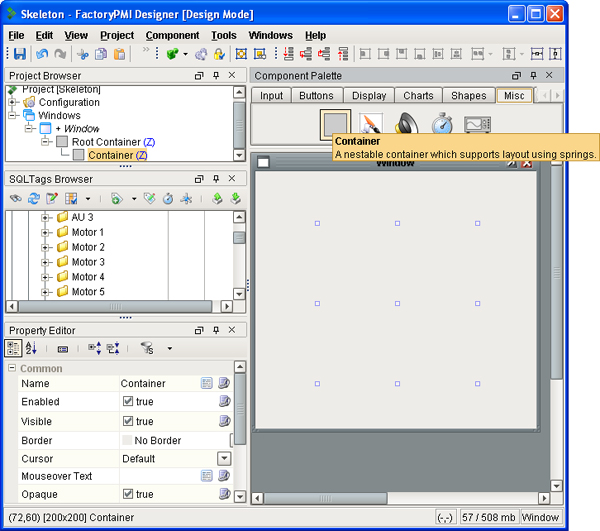
So, drag in the Container component from the Misc tab, in the component palette, into the window.
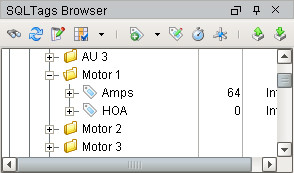
In order to make the container generic we need to add variables to the container that describe the particular motor. So, let's assume, in our example, that each motor is unique based on a single integer value, called motor number. In SQLTags, we have eight folders named:
Motor 1
Motor 2
Motor 3
Motor 4
Motor 5
Motor 6
Motor 7
Motor 8
Inside each of these folders are two tags: Amps and HOA.
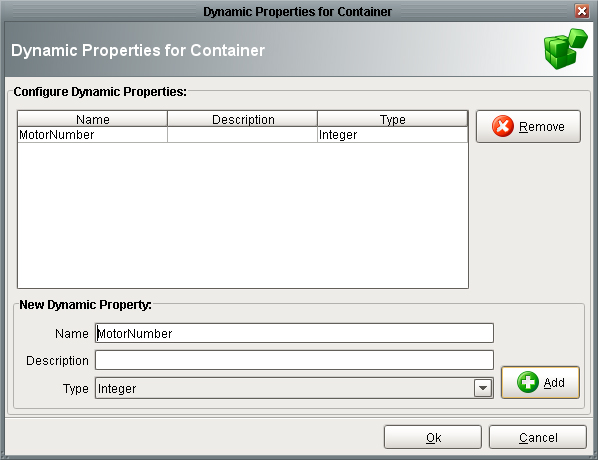
The only difference between referencing a tag in one folder versus the next is just the motor number. Next, right click on the container and select Customizers -> Dynamic Properties. Here, add a new property called MotorNumber of data type Integer. Once you add the property it shows up like any other property on the component. Change the value of the property to a valid motor number like 1. Our components inside of the container will indirectly use this property to point to the correct tag in SQLTags.
Next, let's drag in a Label component from the Display tab of the component palette into the container. Click on the bind icon to the right of the Text property and select Expression as the binding type. This label is going to display what motor number the container is pointed to. In the expression box, let's combine the word "Motor " with the motor number dynamic property. The expression will look like this:
"Motor " + {Root Container.Container.MotorNumber} 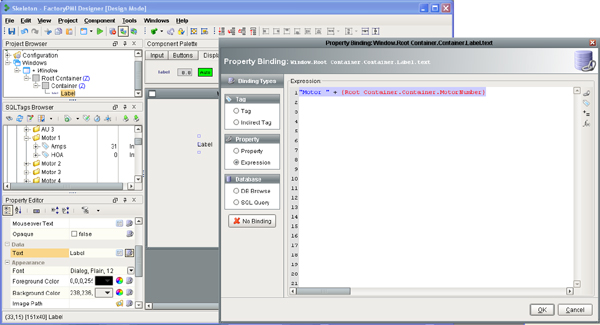
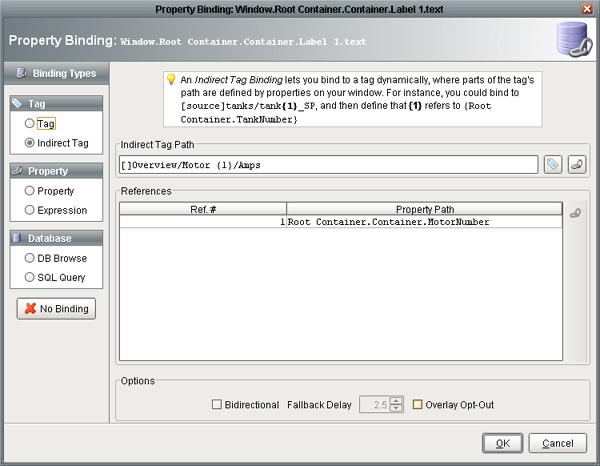
Next, let's drag in another Label component from the Display tab of the component palette into the container. Click on the bind icon to the right of the Text property and select Indirect Tag as the binding type. This label is going to display the amps value for the motor. The indirect tag binding option allows us to insert variables into a tag path based on properties in the window. For example, here is a tag path for motor 1 amps:
[]Overview/Motor 1/Amps We can replace the 1 with another number to point to a completely different motor. Paste in the previous path and replace the 1 with {1}. The braces signify that we are inserting a value into the path from another property. As soon as you add the {1} a new row gets inserted into the table right below it. Click on that row and hit the Insert Property Value button to the right of the table. Select the MotorNumber property and pres OK.
That's it, now this label is showing the value of the tag for motor 1. We can do the exact same thing for an image or any other component we want to put into the container. Once we have all of the components inside the container that we want, we can easily copy and paste the container, change the MotorNumber property to another number, like 2, and we are pointing to a completely different motor. This beats having to re-create the entire container again for each motor. Check the FactoryPMI user manual on how to save this component as your own component in the palette to use in other projects.
For any questions on this article please consult the forum, user manual or one of our tech support reps.